With Aapanel, installing and managing a web server in Ubuntu becomes effortless. Setting up a web server can be a complex and time-consuming task, especially for beginners. In this blog post, we will guide you through the step-by-step process of installing Aapanel on Ubuntu, empowering you to streamline your web server management experience
What is Aapanel
Aapanel is modern, lightweight webserver management panel. It will satisfy all your needs and make your tasks about server settings management are easy. This panel may contains popular LAMP/LEMP software stacks, database service, FTP, built-in filemanager etc. Also you may “expand” panel functionality via extensions store.
Before installation
Before start Aapanel installation, please ensure that you have:
- Server with at least 2Gb RAM and 20Gb disk space;
- Actual operation system (Ubuntu 20.04 LTS in this example);
- Permissions of “root” user or “wheel” group membership;
- Domain “pointed” to your server.
Setup procedure
To install Aapanel just follow further doings plan:
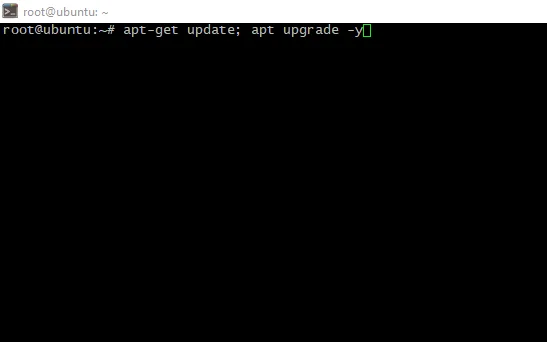
- Login to the server via SSH as “root” user and update current system;
apt-get update; apt upgrade -yor
sudo apt-get update
sudo apt upgrade -y
- Reboot the server to avoid outdated software using;
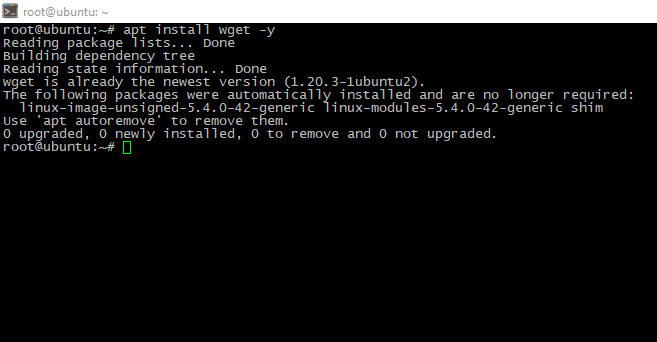
- Install wget package to may acquire installation script further;
apt install wget -y
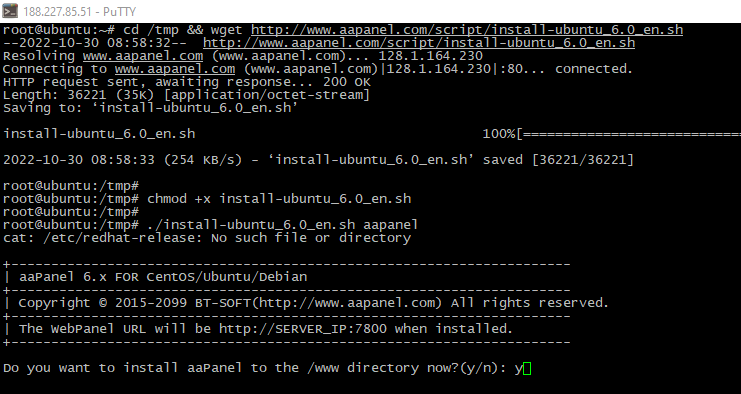
- Downloaad and run installation script:
cd /tmp && wget http://www.aapanel.com/script/install-ubuntu_6.0_en.sh
chmod +x install-ubuntu_6.0_en.sh
./install-ubuntu_6.0_en.sh aapanel
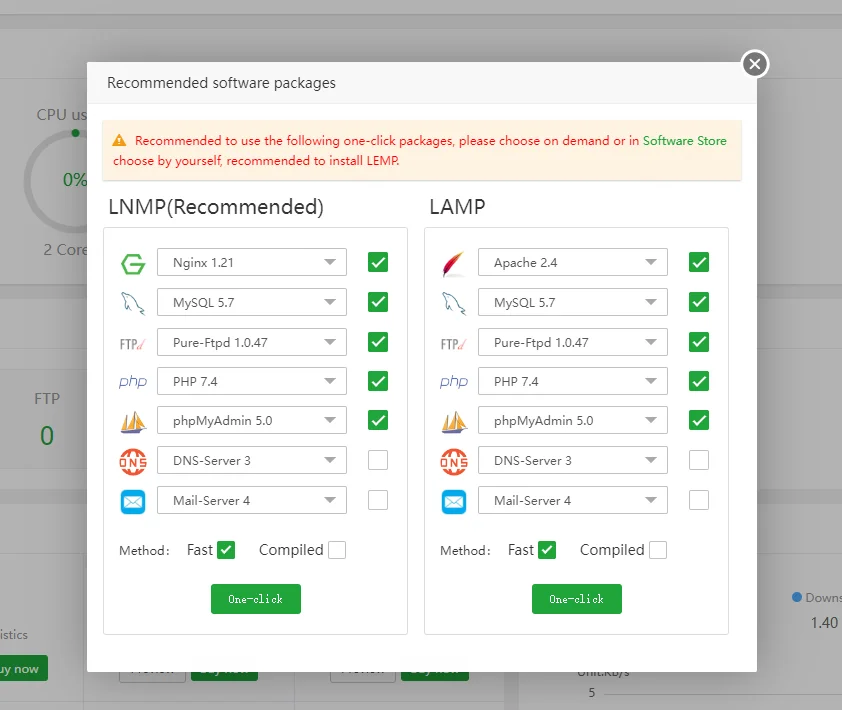
- Process may take a time, be patient. When install finished, you will see access credestials. Keep it safely;


